In this post, I’ll be covering the ML Kit’s barcode scanning API and how you can build powerful features in your app around it.
With the release of Play services 7.8, Google announced that they’ve added new Mobile Vision APIs which provide bar code detection APIs that read and decode a myriad of different barcode types, quickly, easily and locally. Now it becomes the part of the ML Kit
With this barcode scanning API you can read from most standard barcode formats and barcodes are recognised and scanned regardless of their orientation.
With this tutorial, you will learn everything that you need to know about barcode scanning API. I will try to be as much detailed as possible, and will break down this tutorial to multiple steps for better understanding.
Let’s begin!
- Vision API setup
- Screen design
- Setup the Barcode Detector
- Detect the Barcode
- Decode the Barcode
1. Vision API setup:
Check your Google Play Services and make sure you have version 26 or higher. To get the latest version, in Android Studio click Tools > Android > SDK Manager
If you have not already added Firebase to your app, do so by following the steps in the getting started guide.
In your app, open the Gradle Scripts node, and select build.gradle (Module App), then add a dependency for the barcode scanning API.
| implementation 'com.google.firebase:firebase-ml-vision:18.0.1' | |
Add the following snippet within the application tags of your manifest file, so that the MLKit barcode scanner will be downloaded during the app installation not when it is required. This is optional but recommended configuration.
| <meta-data | |
| android:name="com.google.firebase.ml.vision.DEPENDENCIES" | |
| android:value="barcode" /> |
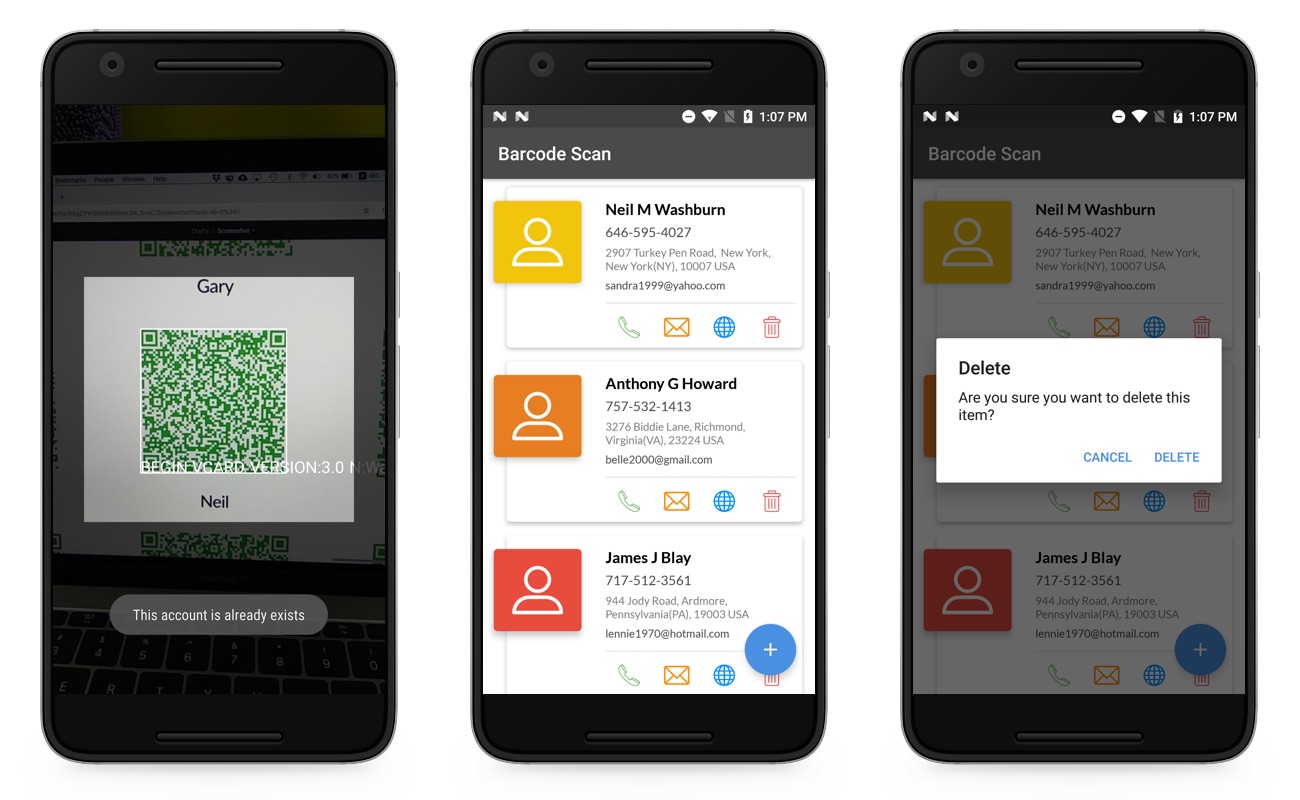
Now that your app is fully configured, it’s time to build a UI to detect the barcode from your camera preview and add the result in a simple list(For the demo purpose, I have used the vCard type results).
2. Screen design:
You need to create custom view classes CameraSourcePreview, GraphicOverlay to interact with the camera hardware and manage the content on the device screen.
For quicker integration, you can check the official sample project and use their classes from here. You need to include the following list of classes into your project.
- BitmapUtils: Utils functions for bitmap conversions.
- CameraSource: Manages the camera and allows UI updates. It receives preview frames from the camera at a specified rate.
- CameraSourcePreview: Preview the camera image in the screen.
- FrameMetadata: Describing a frame info.
- GraphicOverlay: A view which renders a series of custom graphics to be overlayed on top of an associated preview.
- VisionImageProcessor: An interface to process the images with different ML Kit detectors and custom image models.
- VisionProcessorBase: Abstract base class for ML Kit frame processors.
- BarcodeScanningProcessor: Derived from VisionProcessorBase, used to handle the detection results.
3. Setup the Barcode Detector:
To perform the barcode detection, you need to create an instance of FirebaseVisionBarcodeDetector, it helps you to recognise the barcodes in a provided FirebaseVisionImage.
You can create an instance of the detector with/without restricting the barcode formats. FirebaseVisionBarcodeDetectorOptions use to specify the barcode formats. The default option is not recommended because it tries to detect all barcode formats, which is slow down the process and the app performance too.
| // To initialise the detector | |
| FirebaseVisionBarcodeDetectorOptions options = | |
| new FirebaseVisionBarcodeDetectorOptions.Builder() | |
| .setBarcodeFormats(FirebaseVisionBarcode.FORMAT_QR_CODE) | |
| .build(); | |
| FirebaseVisionBarcodeDetector detector = FirebaseVision.getInstance() | |
| .getVisionBarcodeDetector(options); |
You can get the list of supported barcode formats from here
After this, you need to create the Camera source and connect the BarcodeScanningProcessor with it, then only you can get the results via the listener callbacks.
| // To connect the camera resource with the detector | |
| mCameraSource = new CameraSource(this, barcodeOverlay); | |
| mCameraSource.setFacing(CameraSource.CAMERA_FACING_BACK); | |
| barcodeScanningProcessor = new BarcodeScanningProcessor(detector); | |
| barcodeScanningProcessor.setBarcodeResultListener(getBarcodeResultListener()); | |
| mCameraSource.setMachineLearningFrameProcessor(barcodeScanningProcessor); |
4. Detect the Barcode:
Now that your detector set up is completed, so you can perform the barcode scanning process. The thing is you can perform barcode detection in an image only, for this first you need to create an instance of FirebaseVisionImage because it can be used for both on-device and cloud API detectors.
So in our real-time scanning process, the preview image is converted as FirebaseVisionImage with metadata from the bitmap in our VisionProcessorBase class with the help of BitmapUtils.
| // // To create the FirebaseVisionImage | |
| FirebaseVisionImageMetadata metadata = | |
| new FirebaseVisionImageMetadata.Builder() | |
| .setFormat(FirebaseVisionImageMetadata.IMAGE_FORMAT_NV21) | |
| .setWidth(frameMetadata.getWidth()) | |
| .setHeight(frameMetadata.getHeight()) | |
| .setRotation(frameMetadata.getRotation()) | |
| .build(); | |
| Bitmap bitmap = BitmapUtils.getBitmap(data, frameMetadata); | |
| FirebaseVisionImage firebaseVisionImage=FirebaseVisionImage.fromByteBuffer(data, metadata); |
This code is pretty straightforward — it creates a FirebaseVisionImage from the bitmap, now the FirebaseBarcodeDetector instance to detect the barcodes in our image. This can be done by calling the detectInImage() function, passing in our FirebaseVisionImage instance. If the recognition operation succeeds, it returns a list of FirebaseVisionBarcode objects in the success listener.
| // To detect the barcodes from the image | |
| @Override | |
| protected Task<List<FirebaseVisionBarcode>> detectInImage(FirebaseVisionImage image) { | |
| return detector.detectInImage(image); | |
| } |
5. Decode the Barcode
Typically in this step, you would iterate through the list, and process each bar code independently. Each FirebaseVisionBarcode object represents a barcode that was detected in the image.
From this object, you can get the bounding rectangle coordinates in the source image and the raw, unmodified, and uninterpreted content.
This API can also detect the type of data contained in the scanned Barcode, if the barcode detector was able to determine the type of data encoded by the barcode, you can get an object containing parsed data.
| // To decode the results | |
| BarcodeResultListener barcodeResultListener = new BarcodeResultListener() { | |
| @Override | |
| public void onSuccess(@Nullable Bitmap originalCameraImage, @NonNull List<FirebaseVisionBarcode> barcodes, | |
| @NonNull FrameMetadata frameMetadata, @NonNull GraphicOverlay graphicOverlay) { | |
| Log.d(TAG, "onSuccess: " + barcodes.size()); | |
| for (FirebaseVisionBarcode barCode : barcodes) | |
| { | |
| // To get the raw response from the result | |
| Log.d(TAG, "onSuccess: " + barCode.getRawValue()); | |
| Log.d(TAG, "onSuccess: " + barCode.getFormat()); | |
| Log.d(TAG, "onSuccess: " + barCode.getValueType()); | |
| // To get the parsed data | |
| FirebaseVisionBarcode.ContactInfo contactInfo = barCode.getContactInfo(); | |
| Log.d(TAG, "Title: "+contactInfo.getTitle()); | |
| Log.d(TAG, "Phone number: "+contactInfo.getPhones().get(0).getNumber()); | |
| Log.d(TAG, "Email: "+contactInfo.getEmails().get(0).getAddress()); | |
| Log.d(TAG, "Address: "+contactInfo.getAddresses().get(0).getAddressLines()[0]); | |
| String[] urlList = contactInfo.getUrls(); | |
| Log.d(TAG, "Web: " + urlList[0]); | |
| } | |
| } | |
| @Override | |
| public void onFailure(@NonNull Exception e) { | |
| } | |
| }; |
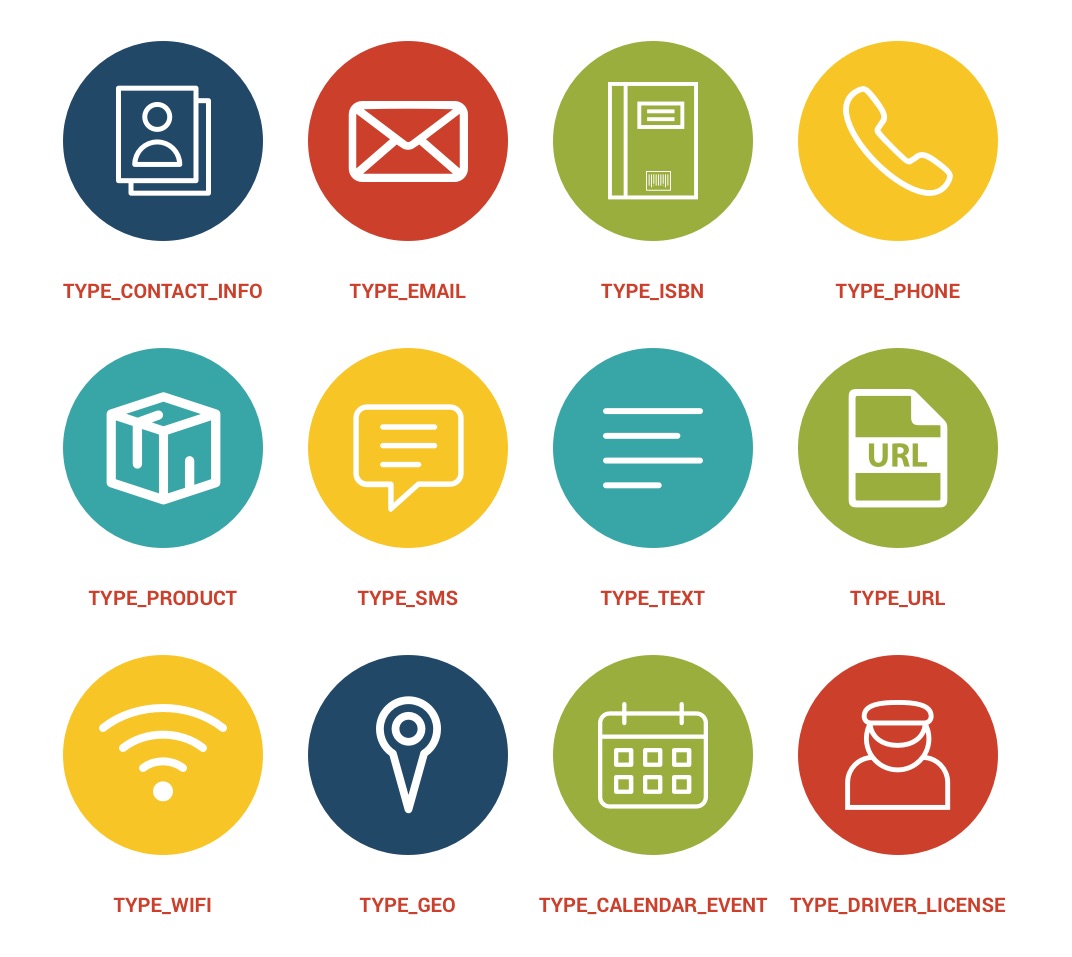
You can get the list of supported barcode types from here
Wrapping Up
Barcode scanning is really cool, and Firebase MLKit makes it super easy to implement it just by writing a few lines of code. Not only easy, but it’s also very flexible since you can pass read and decode different barcode types and everything happens locally.
If you want to play around with the app explained in this post, you can build it from my demo GitHub repository and it should work well after adding it to your Firebase Project.
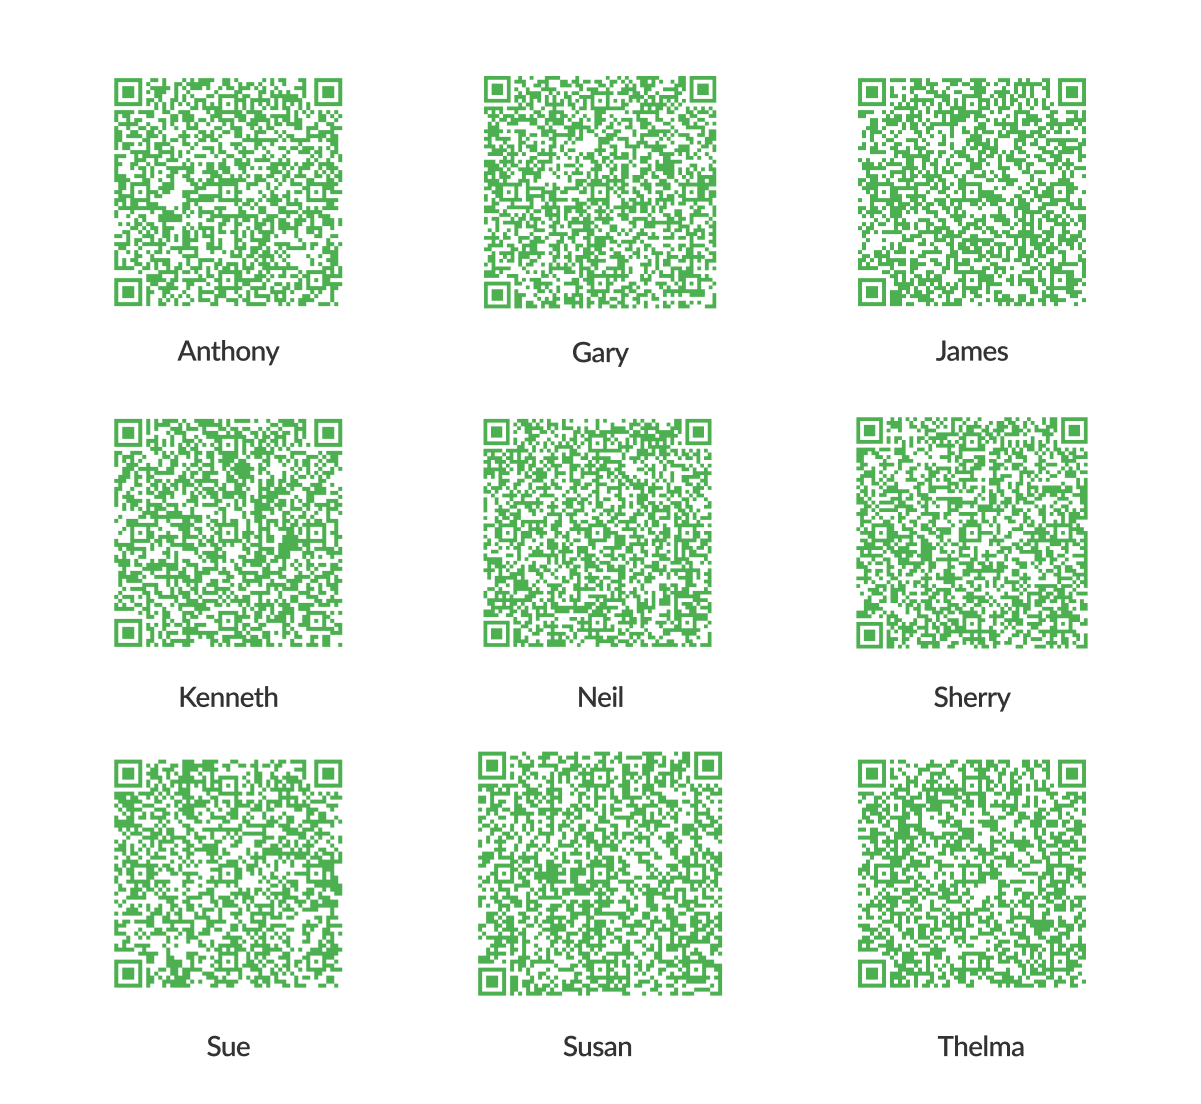
Play with it, you can test this app by using the given below sample Card type QR codes and you can also generate a couple of new vCards using QR-Code Generator.
That’s it for now. If you have any questions or suggestions (like use cases you want to be covered) don’t hesitate to write them in the comments.
Have fun!
Jaison Fernando
Latest posts by Jaison Fernando (see all)
- Phone number auth using Firebase Authentication SDK - March 20, 2020
- Password-less email auth using Firebase Authentication SDK - March 9, 2020
- How to use SharedPreferences API in Android? - February 10, 2020